Inspired by Super Bowl food and these amazing chicken wings I ate at a friend's Super Bowl gathering, I decided that I should try out some chicken wing recipes. Gator's Dockside, Wing Zone, and Wing Stop were my favorite chicken wing places when I was in college. I know I can't recreate scooter sauce or Parmesan garlic, but I can at least try to create something to appease my sweet, savory, and spicy craving.
 |
| Raw chicken layed out |
 |
| Honey Garlic Sauce |
 |
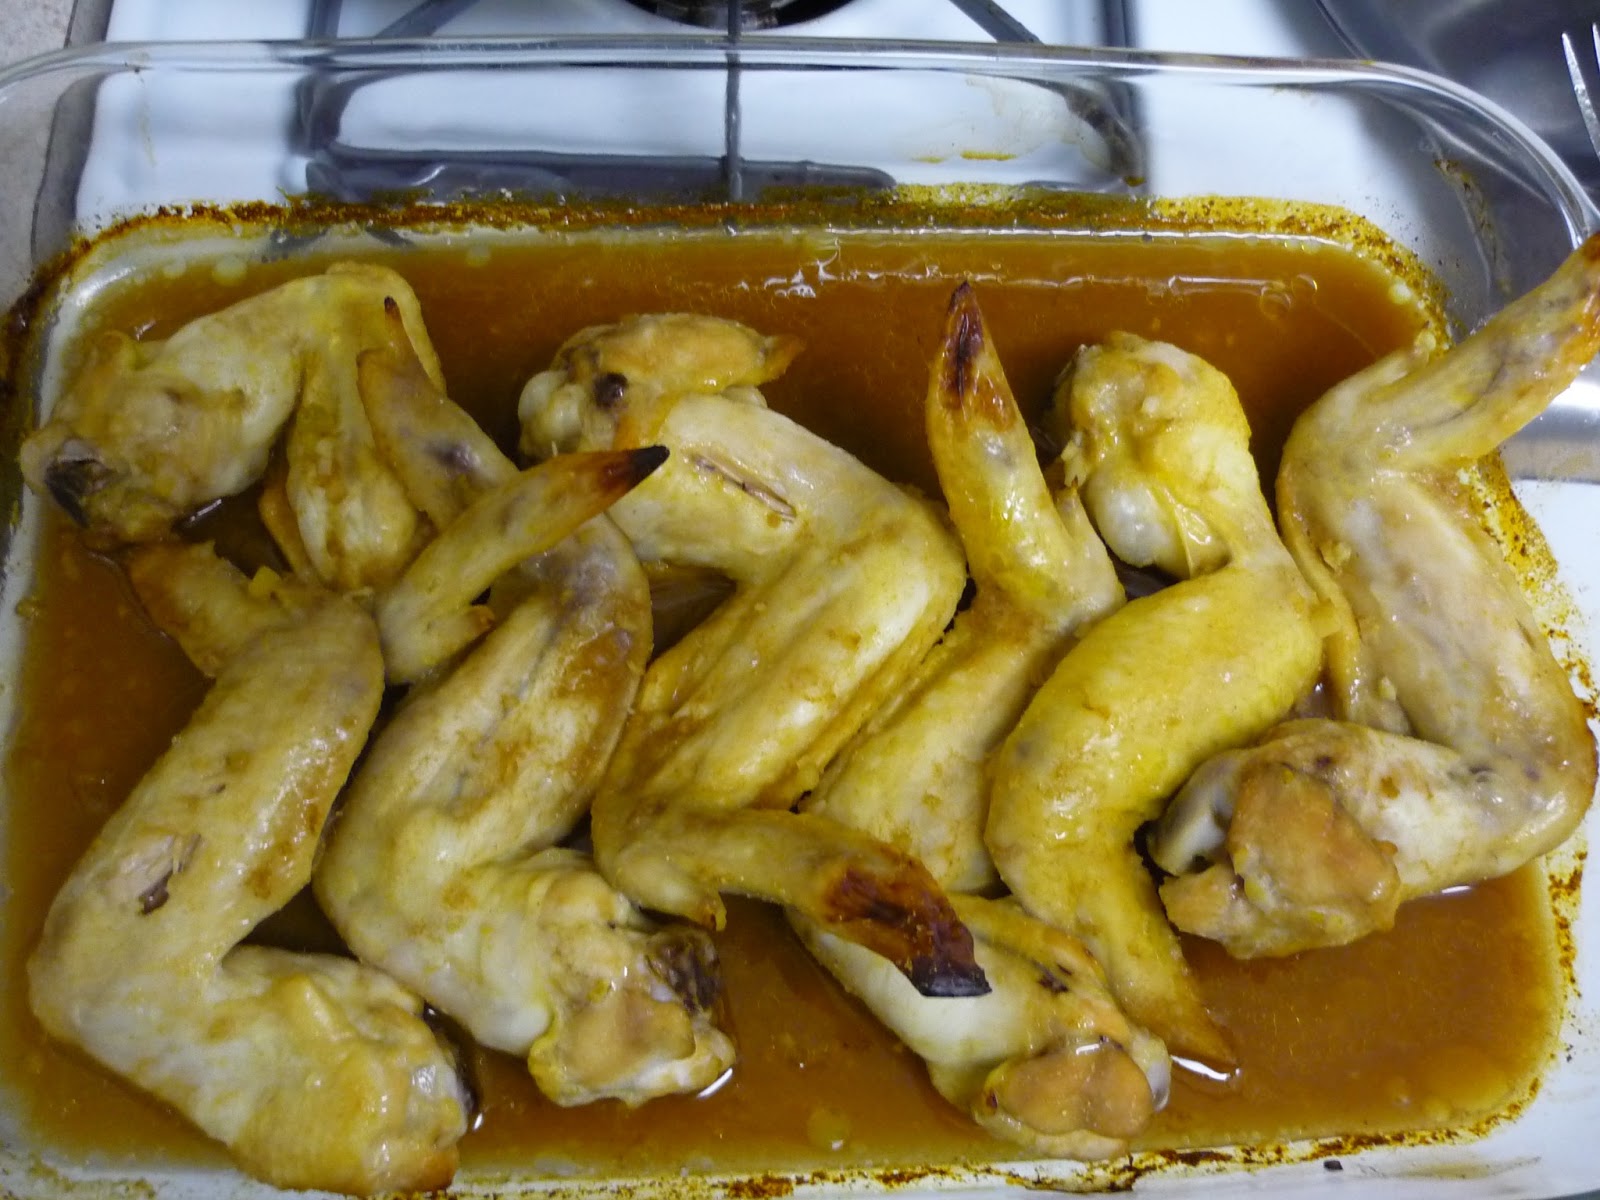
| Saucy |
 |
| Yummy |
Honey Garlic Chicken Wings
Ingredients
- 2 lb chicken wings
- 1/4 cup soy sauce
- 1/2 cup water
- 4 tbsp honey
- 3 garlic cloves, minced
- 2 tsp garlic powder
- 2 tsp ground ginger
Procedure
- Preheat oven to 375 degrees Fahrenheit .
- In a large bowl mix the soy sauce, water, honey, garlic, garlic powder, and ginger. Mix until the honey is dissolved.
- Dip each wing into the bowl of sauce. Make sure the wing is fully covered in sauce, then place wing in a 9 inch X 13 inch baking dish. Place wings so that they are close together but not touching.
- Pour the remainder of the sauce evenly over the wings.
- Cover the baking dish with foil and bake at 375 degrees Fahrenheit for 30 minutes.
- Then uncover the baking dish and bake for another 10 minutes or until chicken wings are completely cooked.